Thursday, August 30, 2012

Project Egg completion...

The board was gloss-coated yesterday and allowed to "cure" overnight. This afternoon, the board was sanded with 400g on the deck and bottom.
The sander has to be careful not to round edges or leave flat spots where there should be curves.
After sanding the deck and bottom by machine, the rails are wet-sanded by hand.
With the board sanded, polishing compound ("secret sauce") is applied and the buffer is brought out.
A short while later, I pulled the tape off the fin boxes, threaded the leash loop and installed the fins. Here's the finished board, 7-6 17-1/2" x 22-1/2" x 15-1/2"  2-7/8" NR=4-1/4" TR=2-1/2"


I hope you enjoyed following the journey of this 7-6 Nomad, and have a greater appreciation for the work and craftsmanship that goes into each Thomas Patrick Surfboard.

After
Before
All glass work courtesy of Lucke Glassing in Camarillo, CA

Wednesday, August 29, 2012

Eggy project almost done...

Here, the board has been hot-coated and sanded. Ray taped-off the pinline on the lap of the deck, applied color and is now pulling the tape.

The white dot in the middle of the stringer is where the hole for the leash-loop will be drilled through the deck and into the center fin box. The leash loop will be knotted, and the knot will wedge itself into the very tail of the fin box, while the loop end will protrude through the deck. This is by far the strongest and cleanest way to attach a leash loop in a board with a center-fin box.

Here the pinline has been completed and the board is waiting for gloss-coat and polish.
Should be ready for its first outing this weekend. Hopefully, we'll get a little swell as forecasted. Stay tuned...

Sunday, August 26, 2012

More progress...

Here's the  deck after lamination with one layer 6-oz S-glass and one layer 4-oz S-glass.

My logos are screen-printed on rice paper and then placed under the cloth during the lamination process. Glassers refer to logos as "lams".

 The bottom lam was "basted" over the bottom lamination with resin and then will be covered with a patch of 4-oz cloth. The bottom lam is actually two lams superimposed on one another to create a dropped-shadow effect.
Next the holes for the fin boxes were routed-out, the fin boxes basted in place with  resin, and each box covered with a patch of 6-oz cloth.

Next step will be to hot-coat bottom and deck, sand, pinline deck, gloss-coat entire board and polish.

Tuesday, August 21, 2012

Project Progress....

As promised, here what's been going on with my latest project, a 7-6 traditional egg. The blank had to be ordered from US Blanks because I wanted to modify the rocker, and add a 1/4" cedar stringer with black glue. I ordered a 7-9H blank because it would accommodate the length, width and thickness of the intended shape.


The "natural" rocker of the 7-9H did not have enough nose rocker for my design, so I ordered 1/2" of rocker added to the last 14" of the  nose.


I cut the template out of 1/8" Masonite, using a paper pattern generated by the AKU shaping program. After I traced the outline on the skinned blank, I didn't like the curve in the the last 12" of the tail; basically too wide. So, I grabbed another template off the wall that had the curve I liked and blended it in. 


With template and blank, shaping begins...


and about 2hr later...


Tail to nose
Nose to tail
Next, I moved it out of the shaping bay and into the glassing area. I asked for 6-oz S-Glass on the bottom and 6-oz+4-oz S-Glass on the deck.

Here's Ray working his glasser "abstract" mojo...a little of this and a little of that....


Now, its all in the pour...
Bottom laminated...

Tuesday, August 7, 2012

Next project...

The “Egg” is a shape I’ve been working on since I started shaping 7 yrs ago. "Wingnut" once remarked that one day he got barrelled on his 7-6 egg and later that day was pushing his son into waves on the same board.  Here’s the first egg I ever shaped.

 I borrowed a template from my friend and mentor Steve Boehne, and had the board glassed at Moonlight Glassing. I ignored Steve’s advice to “stick with the template” and attempted to widen the board to fit the numbers I wanted (typical rookie mistake). End result was a slight flat spot at both ends (Pete St Pierre called it a “platypus” nose), but the board worked really well. Several eggs were to follow and while all of them worked, I wasn’t able to capture that classic “eggy” outline to my liking. I finally figured out that I didn’t need a 14” tail to keep the board responsive. Encouraged by the performance of my latest egg, which has a very full outline but too much volume for my liking;
 I 
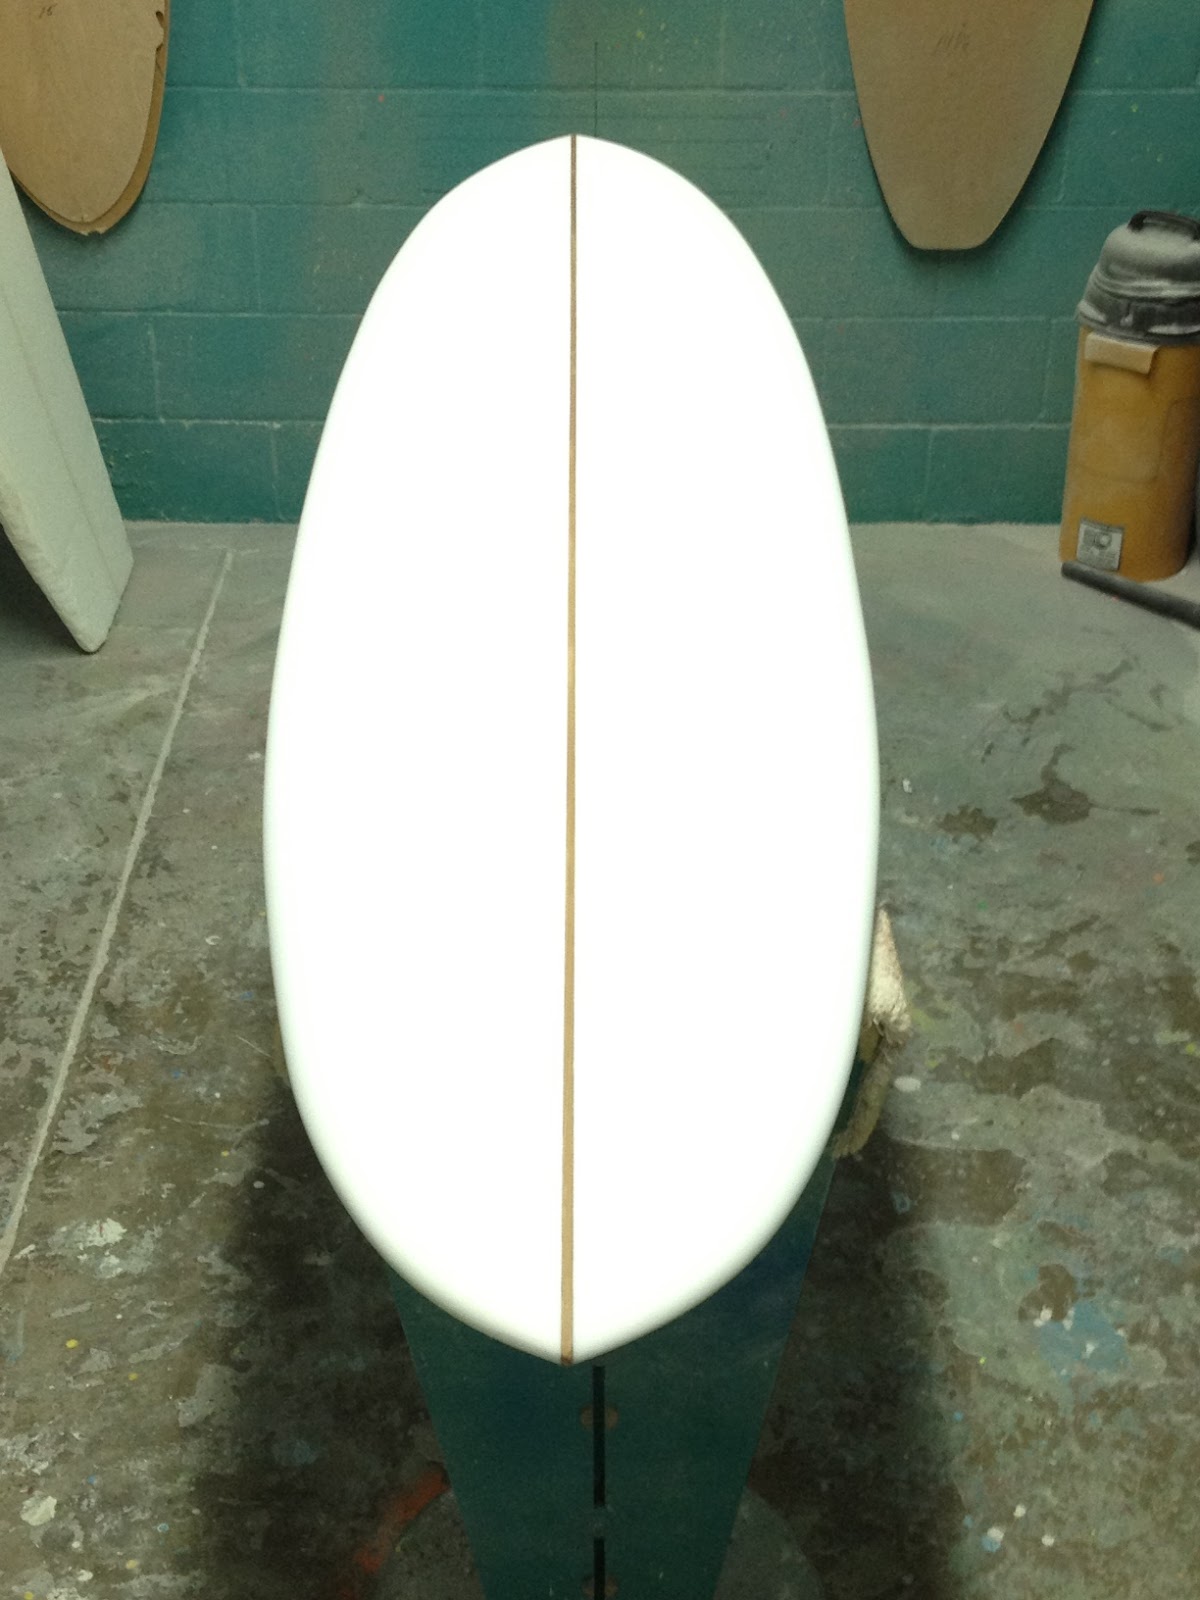
went back to the drawing board and came up with this:
I think this is the quintessential mid-sized egg. No bumps or wings in the outline, and a straightforward bottom with just a slight bit of concave and a little V out the tail. Rails will be tucked 60/40 transitioning to more of 80/20 in the tail. I considered the more traditional eggy rail, but I think a tucked rail is faster to plane and just faster in general. Obviously influenced by the eggs of Dale Velzy, Steve Boehne, Mark Martinson, Gordon & Smith, Becker, Takayama and a host of others, there’s really nothing new here. I’ll go with a 2+1 fin set-up to provide stability with solid performance, and a wide-range of fin configurations. I’ll be able to go from 8-1/2” single fin to a 2+1 with cut-away center fin to a tri-fin set-up (using 4” center fin). This shape is designed to meet the needs of most surfers in most conditions.

I’ve transferred the outline to Masonite. Next step is to order a blank with the rocker adjustments I need and the stringer(s) I want (cedar, of course, but how many?). I could go EPS/Epoxy, but I’m thinking I’ll ask Ray to do some of his resin color work, which favors polyester resins and polyurethane foam (by default).

Sunday, August 5, 2012

Finally finished...

Customer Kirt and some dude pose with his new stick
This is a true custom. It combines a modern longboard outline with some old school influences. Rails are eggy but not pinched until the last 12" where there's a firm tuck for water release. There's a shallow blended nose concave with rolled-panel V in tail. Dimensions are 18-1/2" x 22-3/4 x 15" 3" thick.