Showing posts with label Belly Board. Show all posts

Thursday, March 12, 2015

The T-Belly saga continues...

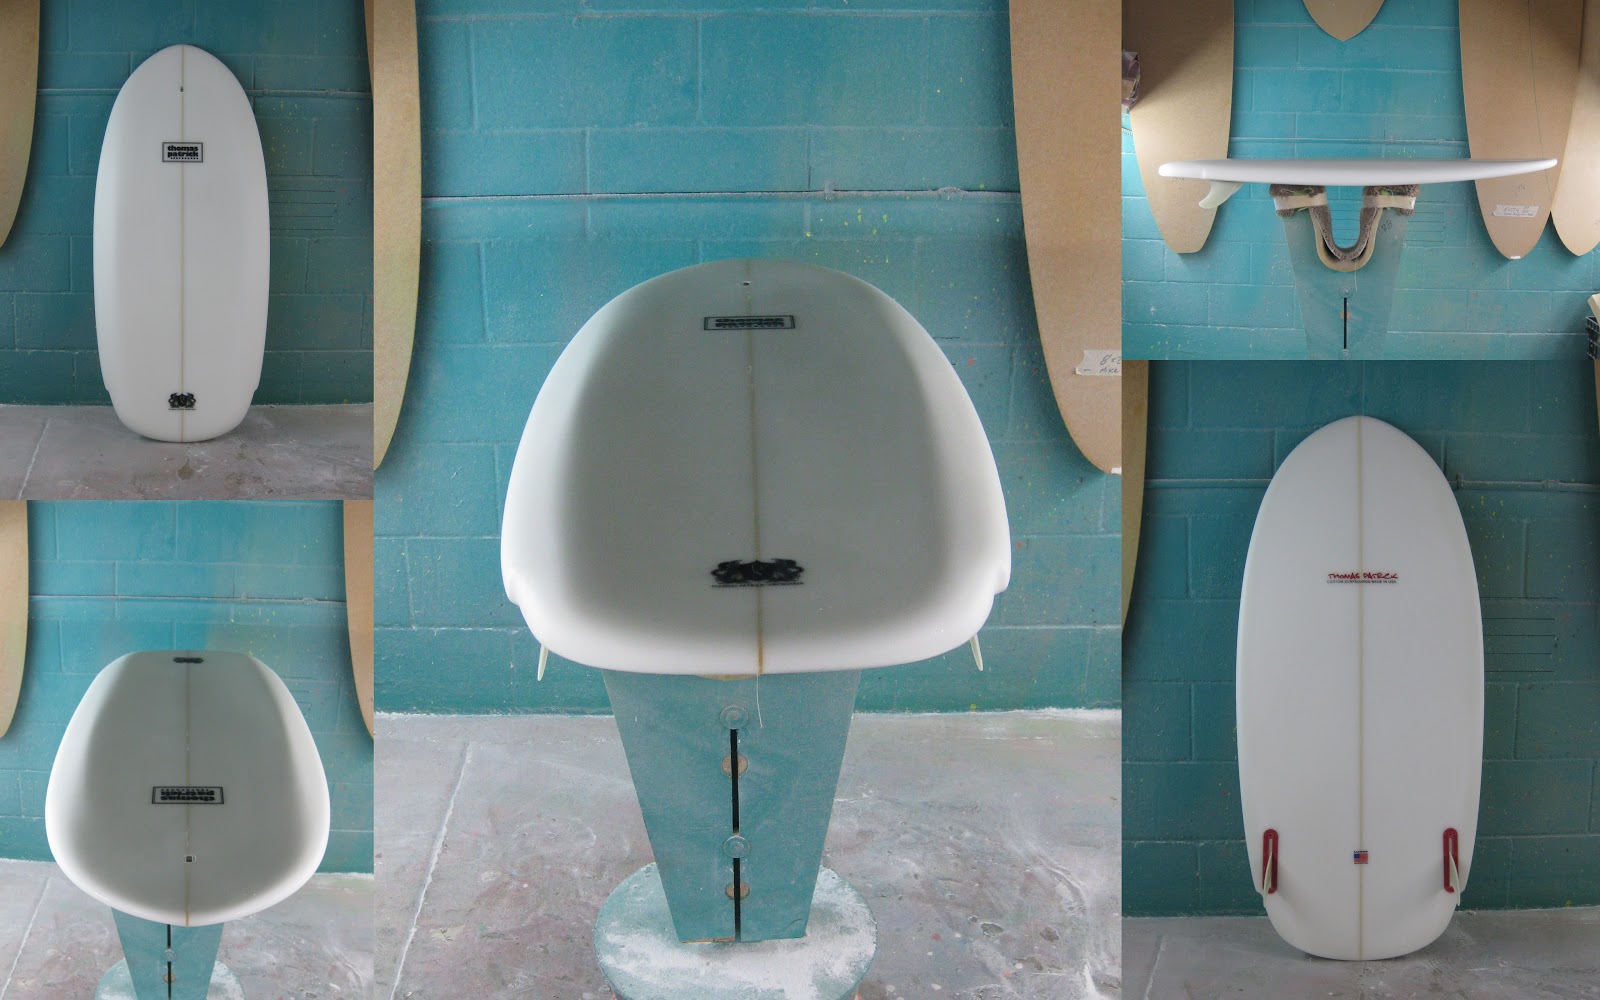
Here's the latest iteration of my "T-Belly" belly board. With stringer-less EPS/Epoxy construction, and quad fins, this board is fast and responsive. 


The dimensions are 48" x 22-1/4" x 2" 23L. You can read all the technical stuff  HERE  These little gems are a blast to ride, and excel in marginal conditions. Plus they fit easily into the trunk of your car or the back of your truck. Don't leave home without one...you never know when an unexpected surf opportunity will present itself. Also, if physical ailments are keeping you from other forms of surfing, this is your ticket back into the lineup. Plus, a lot more soul than an SUP. Prices start at $299+tx

Saturday, February 7, 2015

The last TBG3s...


These are the last two TBG3s. The one on the left is for a 300lb rider, while the one on the right is for a 170lb rider. The biggest difference in these last two G3s is the switch from a well-defined tail concave to a blended double concave tail with slight V. While I prefer quad fins, both customers chose the twin fin set-up.


I start work on the new TBG4 next week. This board will be 3" longer (at 48"), than my old TB3. The extra length will necessitate changes in the outline, the foil and fin position. 

Wednesday, January 21, 2015

Recent interview with MyPaipo.org...

Check-out my recent interview conducted by Bob Green of the MyPaipo.org belly-board forum. I'm building more and more of these fun little boards.


Pricing starts at $299. Contact me for more info or if you want to test drive one.

Wednesday, September 24, 2014

Purple Nova...

This 9-4 Nova 2+1 is nearing completion.

I've been pretty occupied with belly boards over the past month. Here are a couple of recent builds.


Follow this link if your interested in the story behind these incredibly fun shapes.


I've been working on a new longboard design that I call the "V-Pig". This is a pig-shaped, single-fin LB, with exaggerated tail-V. Ordered typically 12" shorter than your standard log, its a great change-up from your daily driver. Pig shapes have the wide point several inches behind center, which makes them very easy to turn. Add to that almost 3/4" of tail-v and you have a responsive log, that will go anywhere on the wave and offer noserides as well,

Sunday, July 27, 2014

Couple of new additions...

Here are a couple of boards near completion. The first is a 43" T-Belly G2 waiting to have its gloss coat sanded.


Next is a 9-4 Nova for Nick which is waiting for a light sanding and some polishing.


Summer crunch is in full swing, with delivery times pushed out to 5 weeks. Still time to get that summer board before Labor Day.  Call today!

Sunday, May 25, 2014

T-Belly Gen2 X 2...

Here's a couple of T-Belly G2s

This one is going to Customer Daryl in Oregon


And this one has already seen some testing at my local point...


Monday, May 5, 2014

T-Belly Gen 2 Build...

This is the second post on the T-Belly G2 build. The blank was given a sealer coat of epoxy resin and cabosil. The sealer coat helps to fill in the tiny pock marks left in the EPS foam after shaping, helps to prevent air from escaping the core and causing delamination after glassing, and generally provides a good adhesive layer for the lamination. After sealing, the blank was air-sprayed a light grey color. At this point the blank weighs 2lbs 4oz. Since the blank is stringer-less, I decided to use a layer of "VectorNet" between the blank and the 6oz cloth on the bottom. VectorNet is Kevlar netting woven into some very fine nylon mesh.

I'm hoping that the netting will provide torsional strength without the stiffness that you  get with carbon fiber. Here's the VectorNet draped over the blank prior to trimming.

And now, trimmed, with a layer of 6oz E-cloth. Normally, I would use 4oz cloth, but the VectorNet causes ridges beneath the fine, 4oz cloth, which can lead to sand-throughs during the sanding process.

And, finally, laminated with epoxy resin and "pulled dry"...sexy, eh?

The deck will also get a layer of VectorNet, but only in the back half of the board where the rider will be. I'm hoping this lamination process will yield a board that is strong and resilient, but also has a little flex.

Wednesday, April 23, 2014

Sneak Peak at T-Belly Gen 2...

I've been working on a couple of belly boards, one of which is a prototype for the next generation of T-Bellys. Here are some photos of the early stages of the build. I plan to do a complete article on the whole project in  a couple of weeks.
Tenplate underneath is TB-G1
 

Every shape starts with a template, and if its a new shape, a new template is created. One way I create templates is to print out the full outline from Aku, carefully tape together the 8.5x11 sheets of paper, cut the outline, and trace it onto a piece of masonite.


After cutting and truing the big curves with my Hitachi Planer, I use a surform true up the smaller curves and finish with a bit of sandpaper.


The outline is then traced onto the blank and cut out. I have another planer set-up to just true the outline on the blank. With all the contours on both the deck and the bottom, shaping one of theses takes almost as long as shaping a longboard.


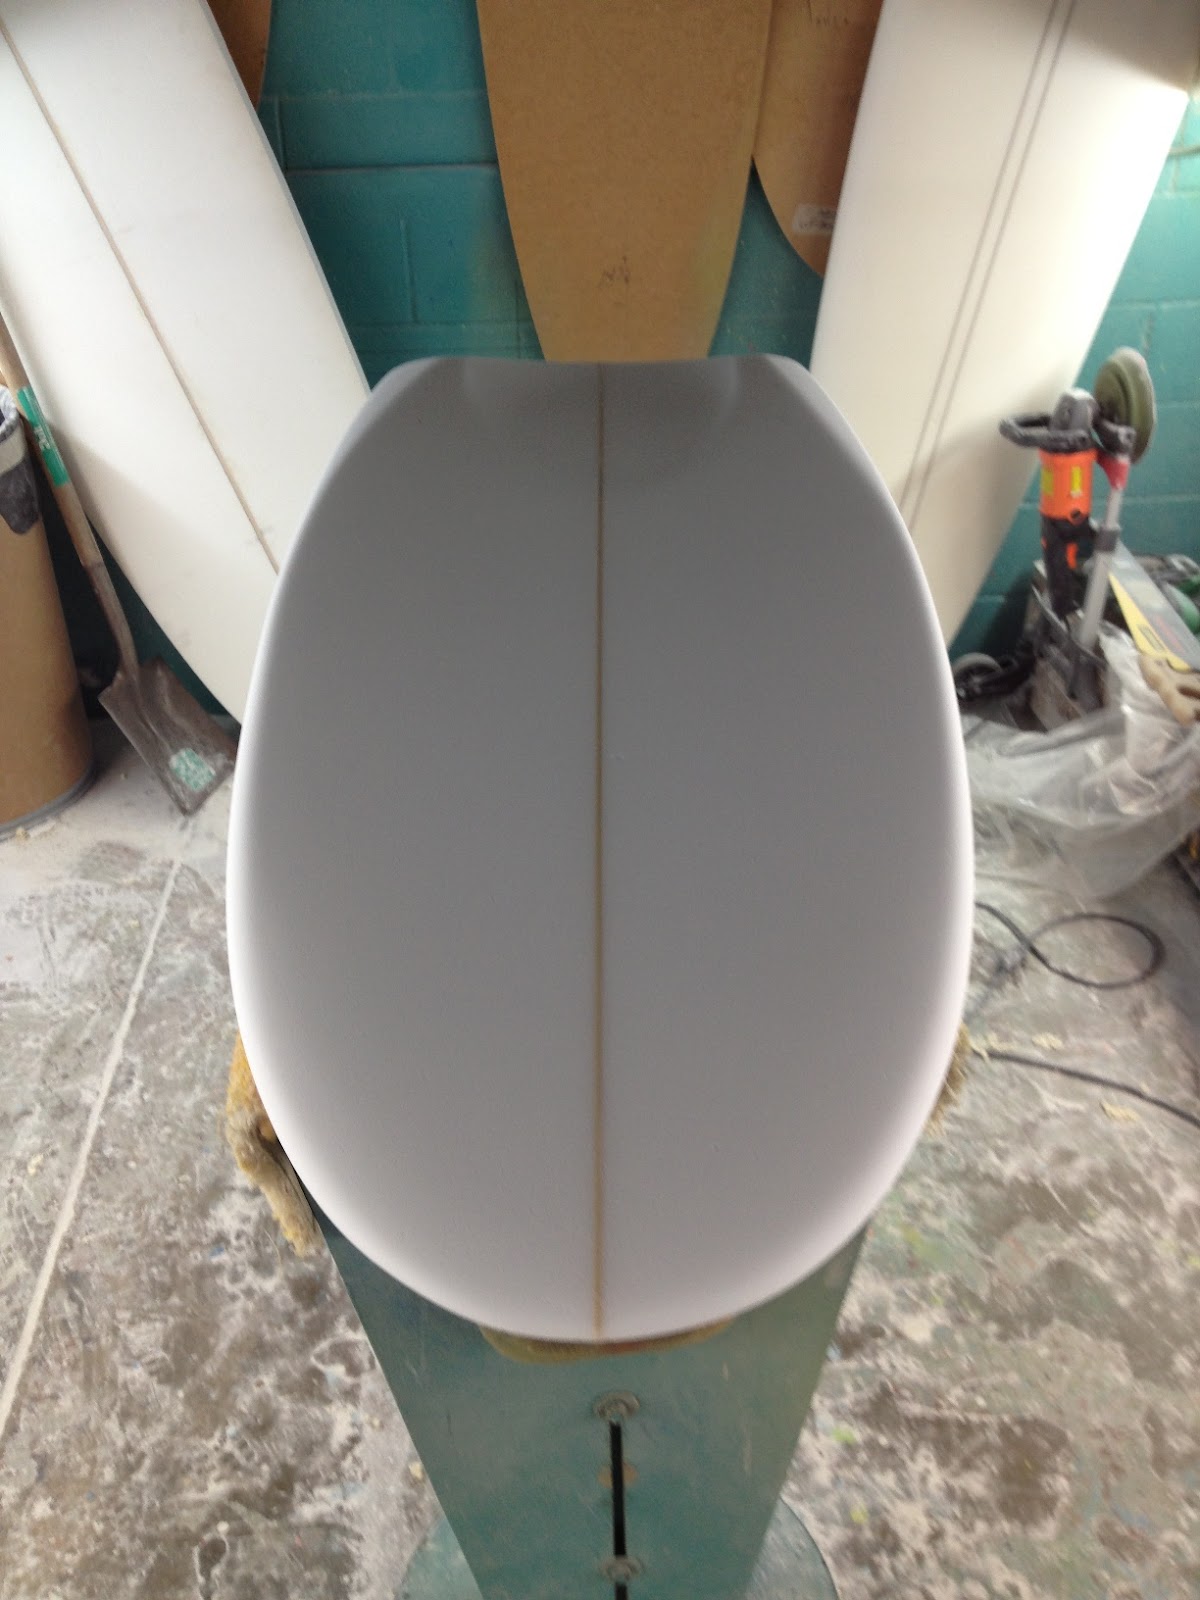
Here's the finished bottom viewed from the tail. Notice the defined tail concave and the elevated wing on the rails.


r


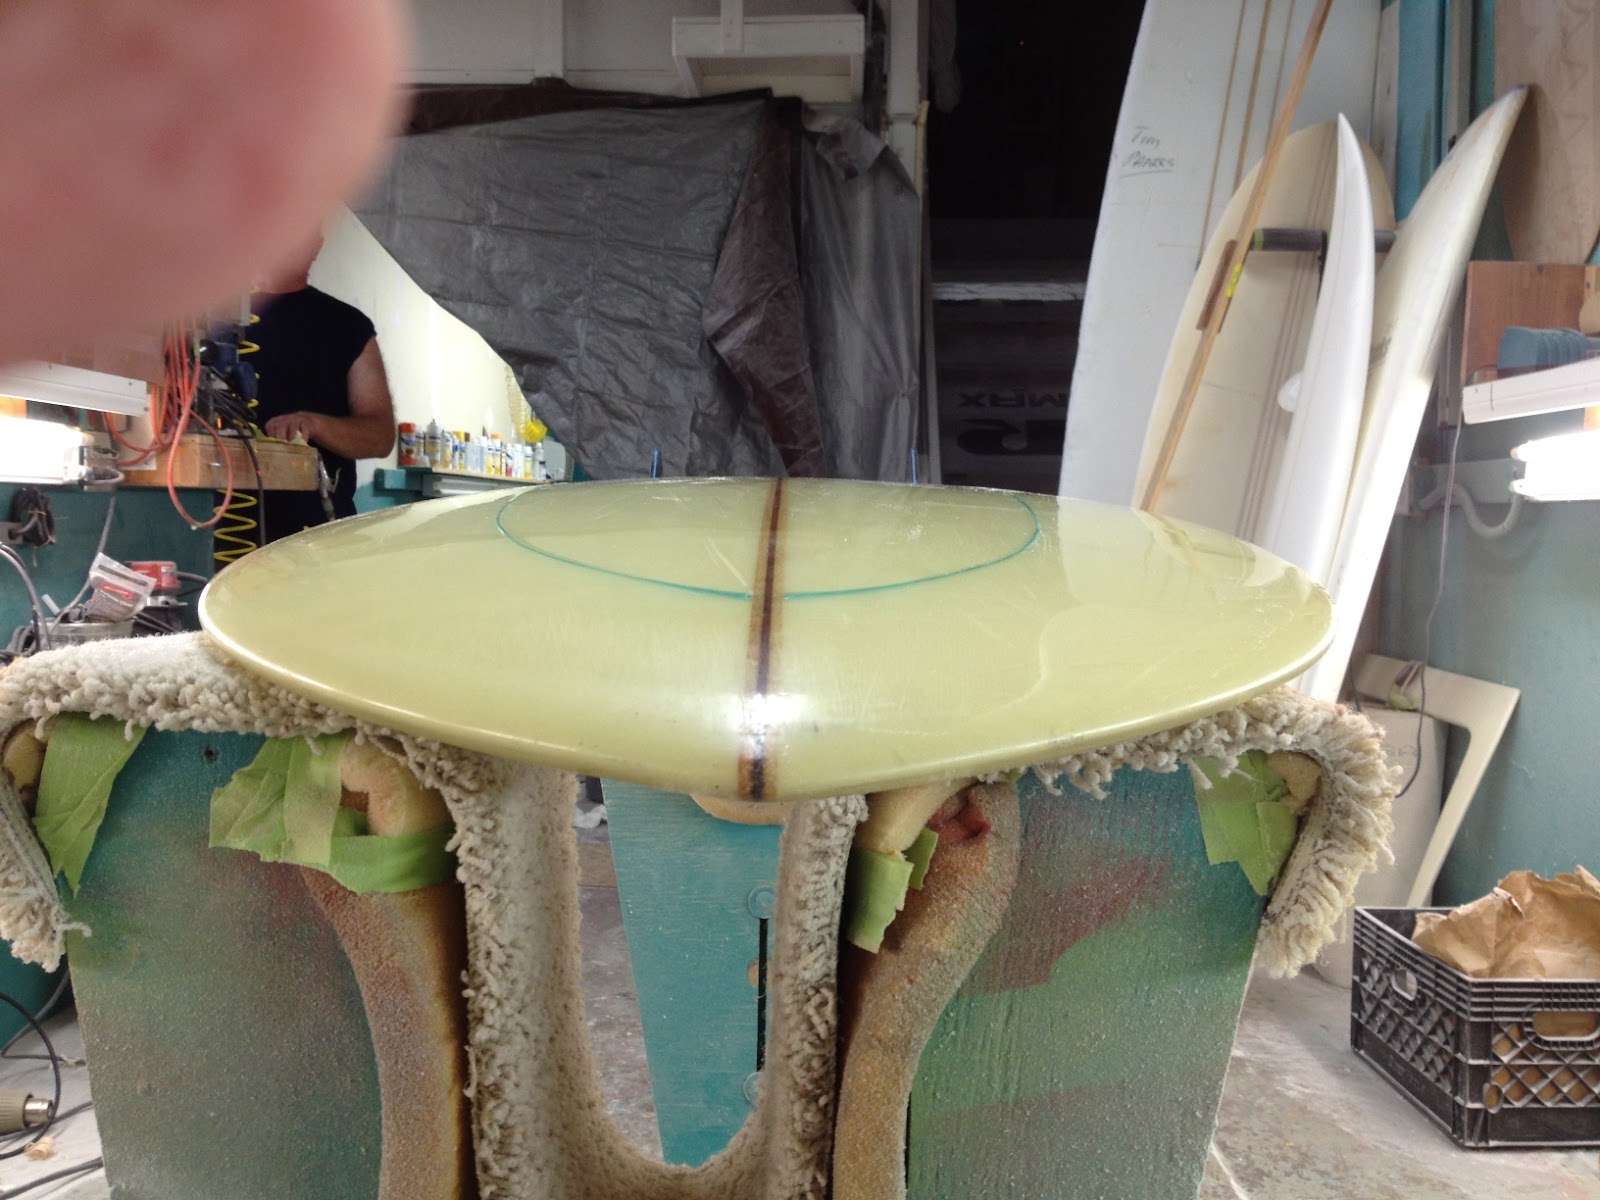
Yesterday, my glasser applied the sealer coat to the deck. I like to have my EPS boards sealed with a slurry of epoxy and cabosil, It helps to fill in the little pock marks that plague EPS blanks, provides a great surface to bond the rest of the lamination, and helps to prevent de-lamination.


Monday, February 25, 2013

Ice-T-Belly

Here's John's Ice Blue T-Belly. The latest iteration of the T-Belly has thinner foil and lower rocker. The slope-deck rails are thin, offering good wave penetration. I moved the fins slightly forward, but kept the V outside of the fins, with a progressively-deep single concave exiting the tail. There is a "hip" in the outline just forward of the fins, which is where the V starts at the rail and where the concave begins, flowing in between the fins and exiting the tail.


Tuesday, February 5, 2013

T-Belly for John M....

I really enjoy shaping these little boards. Shaping all of the contours, while trying to maintain symmetry, balance and functionality, requires a high level of concentration and forethought. Its really a meditative exercise. Time flies by as the unwieldly blank (in this case a 6-8RP by US Blanks) morphs into a rideable shape. I had intended to take photos throughout the shaping process, but once I picked up the planer, I got lost in the process until I reached the point where the deck and bottom were roughed-out, but the rails hadn't been turned.


As can be seen, the rocker is extremely flat in the last 2/3 of the bottom. This makes the shape paddle fast and glide fast across the wave face. Here's the finished shape...

I use a sloped-deck approach which allows a nice, thin rail for hold on steep faces. There is a concave down the center of the deck to hel keep the rider centered. The thickness along that deck ridge is 2-1/4", while thickness along the stringer is about 1-7/8". Those gooves on the nose are rail-grips. They will be less apparent after glassing. The nose is scooped-out a bit (more noticeable in the photo above). There is a break in the curve or "hip" about 12" up from the tail. This should coincide with the location of the rider's waist while riding, and serves as a pivot point in the outline for turning.


Looking down the bottom from the nose to the tail, you can see the concave that runs out the back 14" or so. The bevel in the tail bottom starts at the hip in the outline and increases the rocker along the rail in this area. This bevel makes the board easier to turn as the board is rolled up on the rail to turn. The bottom is convex in the nose up to the point where the rocker starts to flatten. The bottom then stays flat until the bevel and concave in the tail. Asymmetrical twin fins are placed 4" up from the tail, in the flat area between the bevel and the concave. Fin toe-in favors speed over turning.

Bottom showing both concave and bevel


Right-side tail bevel


Next, the board goes to Ray for Ice Blue resin tint, bottom and rails, clear deck inlay and yellow pinline.

Sunday, September 16, 2012

Hobie Paipo...

Last month, a guy named Bill brought a board into my glasser’s (Ray Lucke) shop. We do a lot of ding repair so this wasn’t anything unusual. I was in the back shaping when one of the guys came back and told me to come look at this odd-looking board. Here’s what I saw:


Bill told us the board belonged to his old aviation tech school roommate and childhood friend, who bought the board in 1969, surfed it a few times and then left it with Bill’s father in Glendale while he went back to Montana. Tragically, Bill’s friend was killed in an auto accident before he could retrieve his board. The board remained forgotten in Bill’s father’s attic for over 40yrs. When Bill inherited the house from his parents, he re-discovered the board. Ray recognized the logo of the glasser (Gunther Glassing Northridge, Ca) and a few phone calls later Danny Tarampi, former owner of Gunther Glassing (1963-75), was at the shop giving us the board’s complete history.Danny told us that in the late ‘60s, surfboard manufacturers were scrambling to get on the shortboard bandwagon. Hobie delivered several longboard blanks to  Gunther Glassing with orders to re-shape the blanks into shorter boards. Danny said the only shortboard shape he was familiar with at the time was a paipo, and offered to shape a big paipo. He referred to the board as a “cut-down”. The boards were glassed by David Artz.

The board's dimensions are 5’1”, 19” x 22-1/2” x 22”, 3-1/2”thick. The wide point is 13”up from the tail and extends to a point 22” up from the tail. Board has significant belly and crowned deck, with eggy rails. Thickness flow is 2-3/4”@12” down from nose, 3-1/2” at 24” up from tail and 3”@ 12” up from tail. Board was glassed with double 10-oz Silane, deck and bottom, and weighs 17lbs! Fins were made by “Fly” using 10 layers of 10-oz mat (blue resin) sandwiched between layers of 10-oz silane (black resin). Fin template is “reversed skeg”, 6-1/2” base and 3-5/8” depth, and is not foiled. Trailing edge of fins is set 3-3/4” up from tail and 4-1/2” off rail, with no toe-in.

The board is in perfect condition with only a couple of gloss-coat scratches. Seeing this board and hearing its story from the man who shaped it was like opening a time capsule. I asked Danny if the board was ridden prone or standing up. He said most people rode them prone, but knew of one surfer who was able to stand up on it.

Friday, March 9, 2012

T-Belly Goes European...

This T-Belly is headed to Mario in Hamburg, Germany.
I made some adjustments in thickness to better match Mario's 170lb weight and shortened the length to 48" to better match his 5'8" height. Although, personally, I like the smaller size even for someone my height (5-10) and weight (185lbs). I kept the center of floatation behind center. Board features the same concave deck/concave bottom as my other T-Bellys.

I'm working on a new belly board design that will combine some hull influences with some Simmons influences...stay tuned.

Wednesday, February 29, 2012

Travelin'.....

I had to move a bunch of stuff down to SD. Filled up the ol' truck, but had just enough room for a borrowed T-Belly and my fins.
Caught some glassy "OH" 3'ers. Felt good to get into some warmer water with a sandy bottom.

Saturday, February 11, 2012

Super T-Belly for Stan....

I made some alterations in my standard T-Belly design based upon Stan's input and came up with this nice single-wing, squash-tail twin-fin.
I added a sloped-rail to the design in an effort to keep the rail profile as thin as possible while maintaining thickness  around the perimeter of the outline. Thickness is 2-3/4" at the peak of the rail slope and 2-1/2" at the stringer. This board also sports the new Futures ILT fin boxes in red. Futures offers three different side-bite templates under 4". Stan opted for the SB3 template which at 3.25"x3.25" is the smallest of the SB templates.

Wednesday, January 25, 2012

My idea of fun on a Saturday...


Stan and I worked on his new "Super T-Belly" last weekend. We spent a lot of time talking about design elements, and I got a chance to explain the shaping process, what I was doing and why. Of course we had to swap surf stories, which is always part of the deal when surfers get together. Is this a cool gig, or what? Here's some more shots of the shaped blank....


Board is now in Ray Lucke's capable hands for glassing. I'll post more pix when its done.