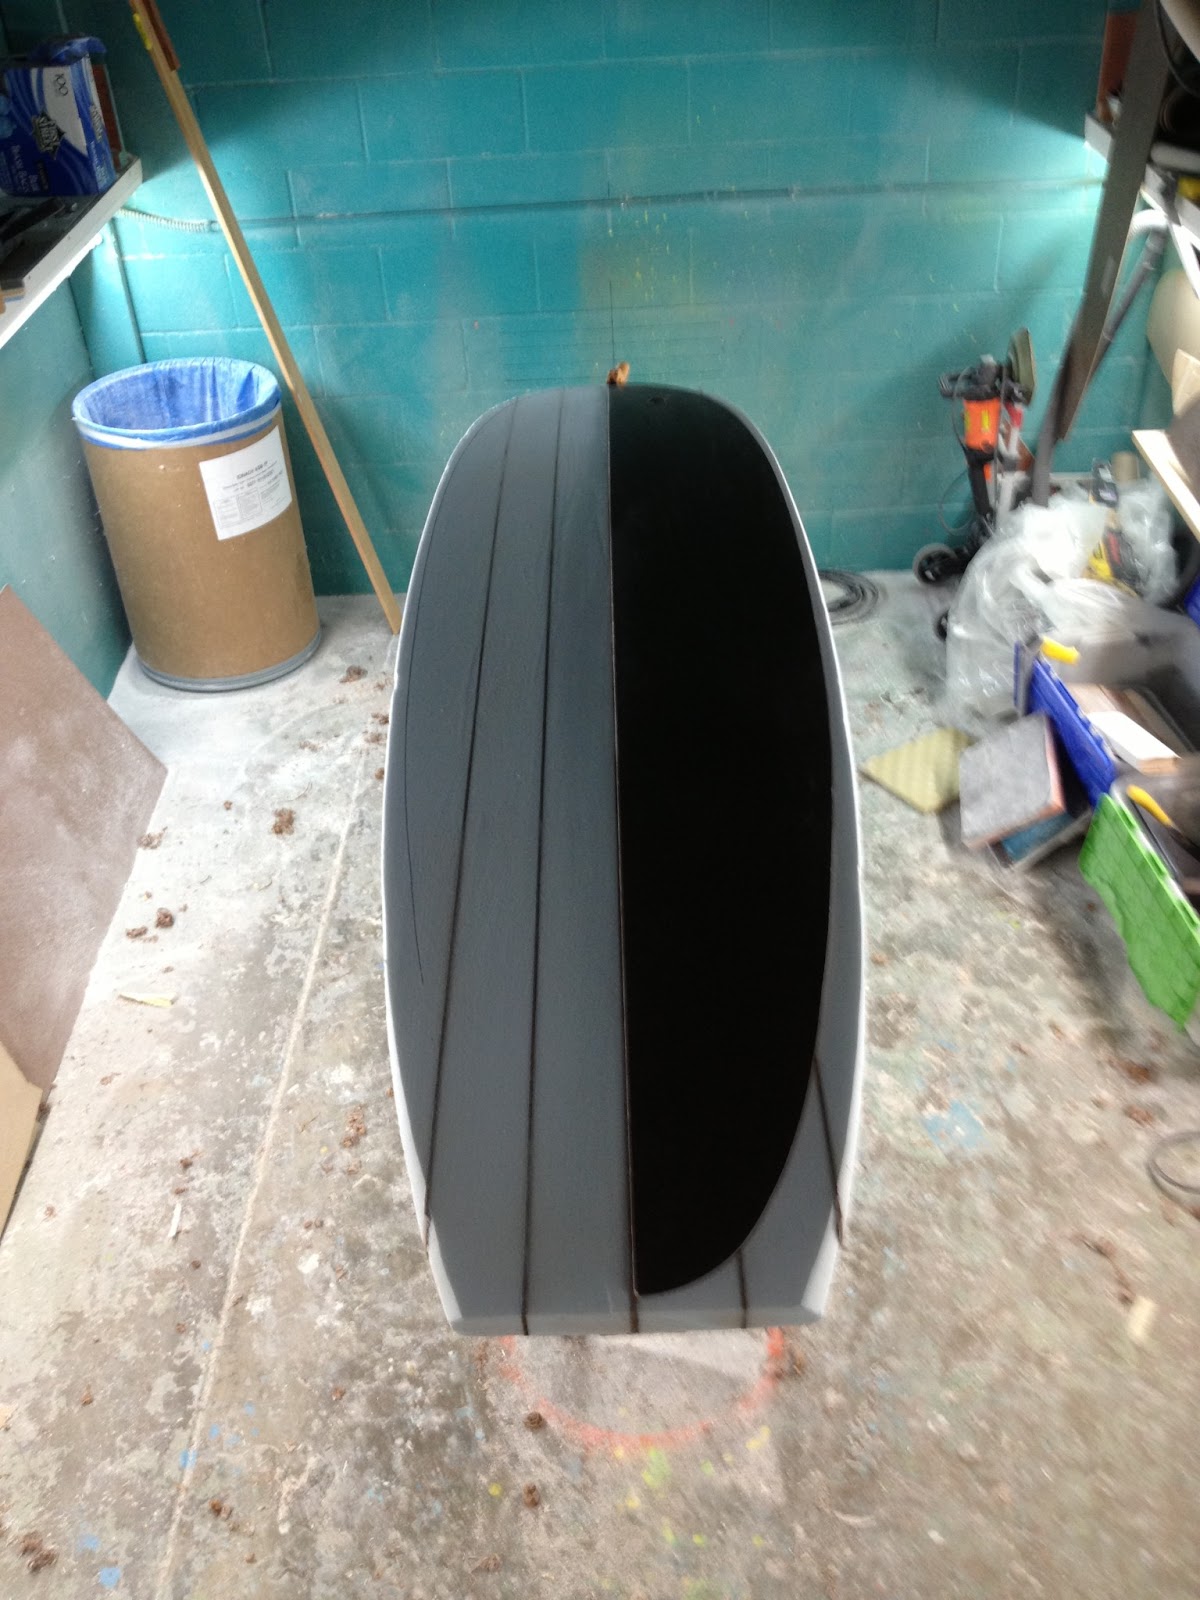
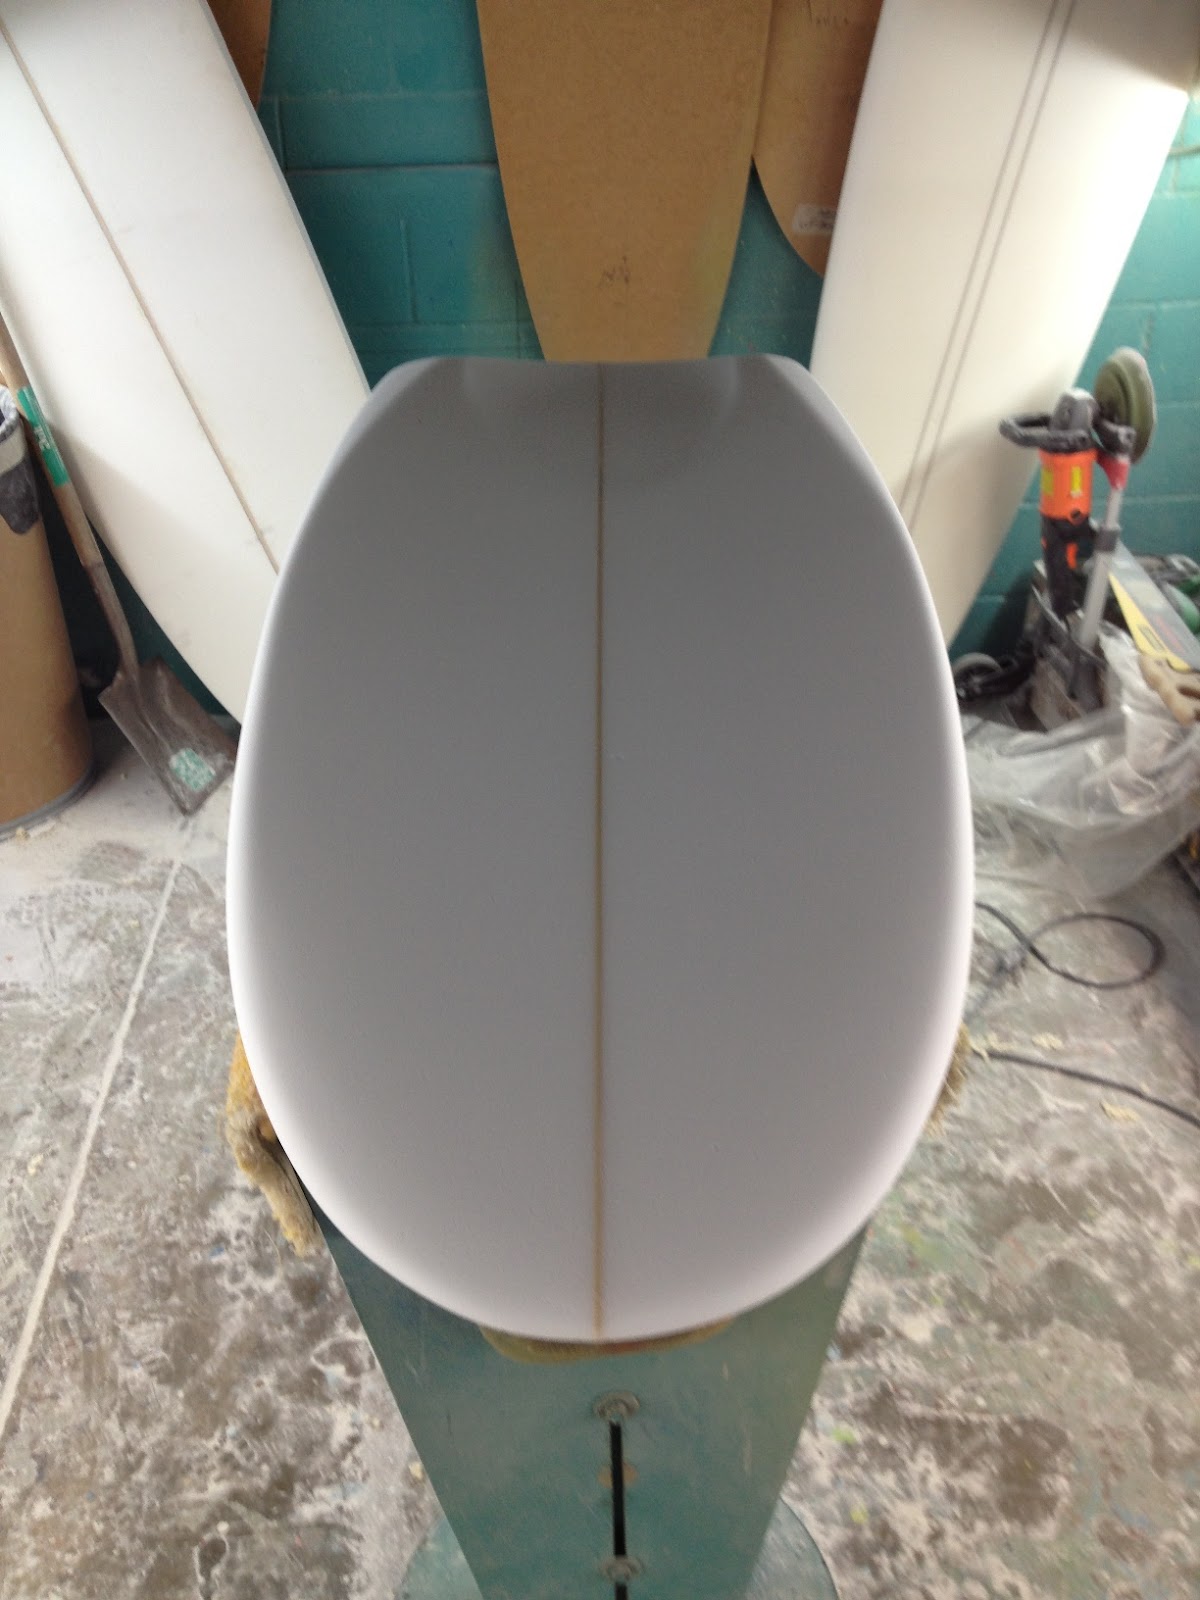
Saturday, April 13, 2013

Let's make a Mini-Widget...


 Basic Shape:  The Mini-Widget is a variant of the “mini-Simmons” design, and is a shape that lies somewhere between my T-Belly, belly board and my Widget mid-size shape. The common ground here is maximum planing surface and volume in a very short length. Wide-tails are notoriously hard to turn, so I like to use single-or double-wings in the tail (depending on board length) to loosen things up a bit. The diamond-tail also helps here as well. The T-Belly and the Mini-Widget also share some Simmons-esque features, i.e. belly in front third, flat in middle and progressive tail-concave through the fin array. The T-Belly and the Mini-Widget also have a beveled rail that starts just in front of the fins and continues out the tail. The bevel increases the rail-rocker in the back third of the board (another turning-aide). See Widget   T-Belly

Getting started:  I design all new shapes using Aku shaping software, and the Mini-Widget was no exception. While I handshape probably 95% of my boards, using the software has three advantages: (1) I can place the profile of my new shape over the profile of the blank I intend to use to see if it fits or if I need to make adjustments to rocker when I order the blank, (2) the software will print out a full-size outline which I’ll use to produce the template for the board, and (3) the software has a feature that allows me to view the shape in 3-d from all angles.

rough-cut template
The Template:   I print out and trace the outline on a piece of Masonite. Since this is a “spin template”, about 2/3 of the outline curve is on one side (nose to just past middle) and 2/3 of the outline curve is on the other side (tail to just past middle).
I’ll be able to use this same template when shaping MWs a little longer or a little shorter. 

Finished  spin-template


Ordering the blank:  This shape calls for a very wide outline with a very low rocker curve. While a fish blank has the width, thickness and full nose I need, surprisingly it doesn’t have the low rocker numbers I’m looking for. While I could order a fish blank with less rocker, the amount of decrease in nose rocker I need is so high, that it would require extra stringer thickness to prevent the blank from “springing-back” to its original shape, adding weight to the finished shape. Instead I chose an 8-6EA, and after cutting off about 18” from each end, I had a rocker curve very close to what I needed, enough width to accommodate the full outline, and could stick with the light 3/16” bass stringer.

After trimming off both ends, and cutting blank to length

Finding the best location for outline on the 86EA. 
Outline cut

Shaping:The MW is a challenge to shape, with the multiple bottom-contours and the “spooned-out” nose on the deck. Main consideration is to try to take most of the excess foam off the bottom. Foam blanks become less dense (softer) as you plane away the excess foam. You want to leave the deck as dense as possible to alleviate excessive heel denting (“Blue” density foam was chosen for this reason as well). The shaper also has to keep in mind the desired thickness of the finish board (in this case 2-5/8”) and not exceed it.


Finished blank showing belly flat middle
Finished blank showing tail concave and rail bevel
Finished blank showing belly in nose
Finished Blank:  This blank will receive full resin-tint color, which means the blank itself had to be sanded with progressively finer grit until it had almost a polished look. After the blank is finished, I mark the fin placement and place it in the rack where it waits its turn. Attached to the blank is the production order which calls-out the glassing schedule, color, logo placement and fin-box type.

To be continued...

Thursday, April 11, 2013

Story of the "Wall Hanger"...

I decided it was time to build a board strictly for appearance, which could be displayed in our home. My wife has used a "beachy" theme to decorate our small house in Ojai, CA, and she felt a surfboard would be a nice addition. My first impulse was to build a balsa board, with redwood stringers, but building a chambered balsa board is not only very labor-intensive, requiring access to tools typically found in a cabinet-makers shop, but very expensive (10' raw blank=$800!). And, given the wall-space that this board is to occupy, a sub-8' board would have to do. I settled on building a 7-6 egg, with multiple (5 to be exact) stringers. I think the egg is a classic shape, that probably looks better than it performs. And, with 5 stringers, this board will be a true mini-tanker, which should help to keep it on the wall and not in the water. So, I visited my friends at Fiberglass Hawaii in Ventura and ordered the blank. Here's what I started with:


The notes scribbled on the bottom indicate who ordered the blank, the stringer info (thickness, location and material), and finally, the rocker adjustment. The note "+(2)1/8CD 3-1/2 out" means two 1/8" cedar stringers, each offset by 3-1/2" from center. Other trivia you may or may not know: the blue on the nose means that this is a "blue" density foam and "80H" is the blanks name, while "MIL" are the initial of the person who poured the foam. The "natural rocker" of this blank is a little too flat for my taste, so I had USB add 1/4" of nose rocker in the last 24" of the nose.

Here's the blank after "skinning" and after being cut to length, which in this case is 7'6"
 After planing-down to within 1/8" of the final thickness and foil, its time to template the blank. This is my favorite egg template and the one I use for the Nomad shapes.
Here, the outline has been cut and trued-up. At this point, I make the final rocker adjustments and add any bottom contours, such as concaves or V.
One last check of the rocker followed by any necessary tuning, and then I shape the rails.
With the rails shaped, its time to finish-sand the blank. Since foam is softer (less dense) than wood, there is a tendency for the stringer to protrude above the foam after sanding. So, after every sanding, each stringer has to be carefully planed down so that it is slightly lower than the foam. This process repeats until all scratches have been removed, and the stringers are flush with the foam. Because this blank will receive a resin tint, it has to be finished to almost a polished look. Any nicks or scratches, however small, will appear darker in color. Multi-stringered boards take almost as long to finish as to rough shape.

At last, here's the finished blank, ready for glassing. This board will be done in the classic coke-bottle green.

Tuesday, April 9, 2013

'nuther Nova...

The Nova is my most popular longboard model, and for good reason. It has a wide wave range and can be ridden as a single-fin, 2+1 or twin-with-trailer (a la Infinity Cluster-V). I build this model from 9'0" to 10'6", with thickness depending upon rider weight and experience. Here's the latest in the popular "Ice Blue" Tint finish.


In an earlier post I mentioned the option of choosing stringer glue color on custom boards. This board was ordered with a 3/8" basswood stringer and dark blue pinline. Blue stringer glue was a no brainer...


No extra charge for the fancy pinline corners and the  "through-the-box" leash loop.


Board's dimensions are 9-6, 17-7/8" x 23-1/8" x 13-3/4"  3-1/8" thick.

This board was finished last week. Next up is a 5-stringer 7-6 Nomad and a 5-4 Mini-Widget Quad. Photos coming soon....

Thursday, March 28, 2013

Sneak peek at Scott's new Nova...

Ray is working his magic on this new 9-6 Nova for Scott in Ojai. In addition to the Ice Blue resin tint bottom and rails, board will have a dark blue pinline on the lap and blue glue lines on the custom 3/8" bass stringer. Those are the kind of details you can't get off-the-rack. Why buy what's left off-of-the rack when you can get exactly what you want for less from Thomas Patrick Surfboards?? New boards currently delivered in 4 weeks, but Summer is just around the corner. Don't wait, beat the rush and order now.

Tuesday, March 26, 2013

Surf has been hit and miss...

Sunday was a hit, despite the crowd. This one lined-up pretty good for me.

I surfed my 10yr-old 9-9 Infinity because it was Sunday and my new 9-9 was in the shop having a ding repaired from last Sunday (yep, got a rail bash during my second session). Lesson learned: No new boards on the weekends when the surf-desperados are out in full force. Monday was smaller, but less crowded and I had my blue 9-9 back in water. I really like the feel of this board. It catches waves easy, but not quite as easy as the Infinity. That wide-tail really helps getting into waves. But, my Classic feels much more responsive than my Infinity. The Infinity has a wide 15-1/2" tail with a 7" tailblock, while my new 9-9 Classic has a 14-3/4" round-pin tail. Tail rocker is about the same in both boards. The round-pin has a smooth, predictable turn and a much smaller turning radius. I'm experimenting with the True Ames Greenough 4A 9.25" fin and it seems to fit this shape pretty well.

Wednesday, March 13, 2013

Keepin' busy scrubbin'...

"Scrubbing" is the term used to describe the process of finish-shaping a machine-cut blank. Here is one of seven SUP blanks I've agreed to scrub for my buddy/glasser Ray. It's an 8'10" SUP.
At this point, I have the right side of the deck ready for finishing. Next I'll do the left side and then the bottom. The nose and tail, where the blank is held by the machine, needs a slight bit of shaping. I like to do the rails last. Then I fine-sand the whole blank and put it in the rack for glassing. Yeah, I know, not very exciting. This process of scrubbing machined blanks is how 80% of the boards you see in surf shops are done.

Saturday, March 9, 2013

Classic Blues....


I'll be the first to admit that shapers are pretty spoiled when it comes to new boards. I pretty much ride a new board every couple of months. And with that kind of frequency, its pretty easy to fall into the "just-another-new-board" mentality when it comes to evaluating the latest-greatest stick in the quiver. But this blue board is special...really special.

When I started to design this board I was aiming for a true classic noserider (even considered doing a Pig), with wide-point slightly behind center, 50/50 rails and nose concave. I wanted a LB shape that would work well in the small, slow, point-break surf that that I find about 70% of the time at my local break. And to better compete for waves with the young hipsters on their old-school logs, I knew I needed a little more volume and a lot less rocker than my 9-6 Nova. I decided a 9-9 x 23 x 3-1/4" would offer a good compromise between float and responsiveness. Nose rocker would be 4-1/4" and tail rocker would be 3-5/8". I chose a round pin tail shape to make the tail easier to sink when turning and when making steeper/later take-offs, and kept the nose at 18" to compensate for the flatter nose rocker. A lot of shapers like to put a 19"-20" wide nose on their noseriders, but I don't care for the aesthetics of the wide nose, and they make the outline too parallel and move the wide point forward of center. As always, I drew up the board in Aku, and printed out the spec sheet. This would be my shaping plan.

I found that my shape would be easily accommodated in a 10-2B blank with natural rocker, and after a quick visit to Fiberglass Hawaii in Ventura, I had the blank on my shaping racks and my planer in my hand. There is an old military saying that the battle plan is the first casuality of contact with the enemy. Same is thing is true for shaping when not doing a board for a customer. When the dust settled, I had what amounted to a progressive single-fin longboard.


Dimensions stayed the same, but I pinched the rails for a more foiled look and added plenty of tail V for smooth turning. The three tone resin tint job turned out great thanks to Ray at Lucke Glassing. 

I decided to go with a  9"True Ames Greenough 4A fin in matching blue.


These pix were taken last week, just before I waxed it up for the first session. I lucked out with some nice shoulder-high waves and a small crowd in the water.  Board paddled easy, caught waves with little effort and turned very smoothly. Noserides were stable and seemed to last forever. In short, this board may be the best LB I've ever built. 

Wednesday, February 27, 2013

A new Classic on the rack...

Here's a 9-9 Classic Model noserider that just had the bottom laminated.


That's Ice Blue tint with clear stripe and opaque blue nose dip.
I know, Ice Blue looks like green, but its really blue. Same color as the belly board below.


Here's a view from another angle. This board is based on a Terry Martin Hobie round-pin noserider I used to own, at least the back half is. The front half is from a template of a board I did about 3 yrs ago. Best noserider I've ever owned, but it was a square tail. I liked the curves of the Martin so I just blended the two together. Dimensions are 9-9 18-1/4 x 23-1/4 x 14-3/4" 3-1/4" thick with pinched, 60-40 rails, hlf-length nose-concave and tail V. Can't wait to get this one in the water.

Monday, February 25, 2013

Ice-T-Belly

Here's John's Ice Blue T-Belly. The latest iteration of the T-Belly has thinner foil and lower rocker. The slope-deck rails are thin, offering good wave penetration. I moved the fins slightly forward, but kept the V outside of the fins, with a progressively-deep single concave exiting the tail. There is a "hip" in the outline just forward of the fins, which is where the V starts at the rail and where the concave begins, flowing in between the fins and exiting the tail.


Tuesday, February 5, 2013

T-Belly for John M....

I really enjoy shaping these little boards. Shaping all of the contours, while trying to maintain symmetry, balance and functionality, requires a high level of concentration and forethought. Its really a meditative exercise. Time flies by as the unwieldly blank (in this case a 6-8RP by US Blanks) morphs into a rideable shape. I had intended to take photos throughout the shaping process, but once I picked up the planer, I got lost in the process until I reached the point where the deck and bottom were roughed-out, but the rails hadn't been turned.


As can be seen, the rocker is extremely flat in the last 2/3 of the bottom. This makes the shape paddle fast and glide fast across the wave face. Here's the finished shape...

I use a sloped-deck approach which allows a nice, thin rail for hold on steep faces. There is a concave down the center of the deck to hel keep the rider centered. The thickness along that deck ridge is 2-1/4", while thickness along the stringer is about 1-7/8". Those gooves on the nose are rail-grips. They will be less apparent after glassing. The nose is scooped-out a bit (more noticeable in the photo above). There is a break in the curve or "hip" about 12" up from the tail. This should coincide with the location of the rider's waist while riding, and serves as a pivot point in the outline for turning.


Looking down the bottom from the nose to the tail, you can see the concave that runs out the back 14" or so. The bevel in the tail bottom starts at the hip in the outline and increases the rocker along the rail in this area. This bevel makes the board easier to turn as the board is rolled up on the rail to turn. The bottom is convex in the nose up to the point where the rocker starts to flatten. The bottom then stays flat until the bevel and concave in the tail. Asymmetrical twin fins are placed 4" up from the tail, in the flat area between the bevel and the concave. Fin toe-in favors speed over turning.

Bottom showing both concave and bevel


Right-side tail bevel


Next, the board goes to Ray for Ice Blue resin tint, bottom and rails, clear deck inlay and yellow pinline.